
Barry Burn
Tom Williams
Nick De Gare-Pitt
All photographs by Barry Burn
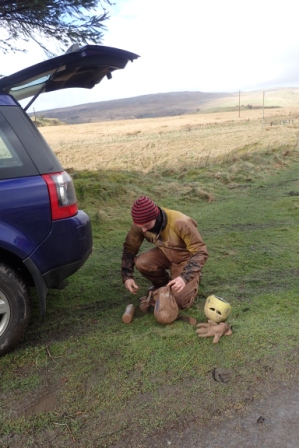
Having sampled most of what OFD1 has to offer, I needed to get back to OFD2 and start to re-discover the delights that the more complex part of this system presents. So, it was that Tom and I were joined by Nick, an old member of Isca who was returning to caving after a long break.
Meeting at Penwyllt we soon discovered that opting for a trip on a CHECC weekend has it’s own problems with the huge numbers of hung-over students that were milling around looking for their trip leaders. At one point, Tom and I were examining the survey in the common room when we heard a subtle groan and discovered a comatose male student looking up at us and wondering where in the seven circles he had found himself. We offered to show him an eighth one but he just cuddled up under his blanket and tried hard to ignore us.
Tom was on his second trip into the system that weekend having helped out with leading hordes of students around the OFD2 system the day before. He was at pains to point out that technically he’d actually done 1 and a half trips as on exiting the cave with one group, he’d been grabbed, before he could escape out of the entrance, to help show another group around. He pointed out that this was the reason for the state of his kit, although I personally couldn’t see the difference from a normal trip.
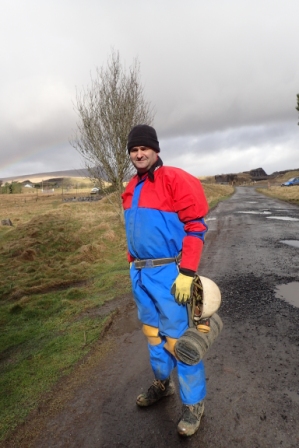
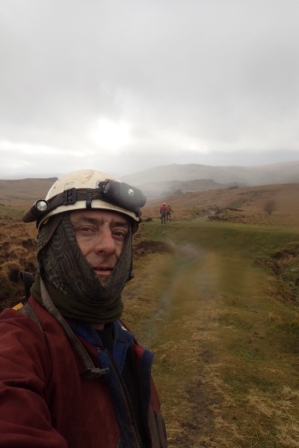
The three of us did the usual trudge up the hill, Tom dripping mud, whilst Nick and I looked more respectable alongside him (although Nick was glowing slightly in his nice new oversuit), to the OFD2 entrance. A pause for a selfie and we were off into the relative warmth of cave.
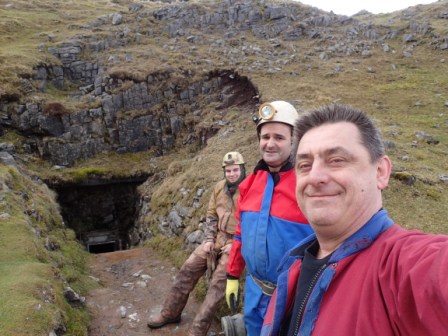
OFD2 Selfie
We were soon heading past Big Chamber Near The Entrance and via The Brickyard into Gnome Passage. The plan was to do one of the trade routes down Salubrious and then via Selenite Tunnel to Edward’s Shortcut and then back into Gnome Passage before heading out.
We were soon at The Wedding Cake that is more of a splat, perhaps it should be rename the Wedding Cake Smash. We headed up Chasm Passage for a look at The Chasm before retracing our path back to the start of Salubrious Streamway.
The Wedding Cake
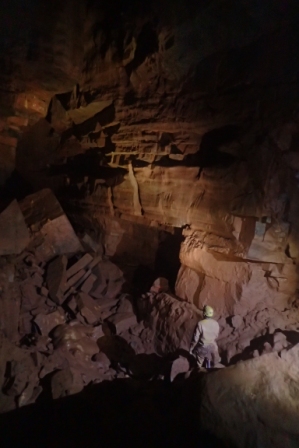
Chasm Passage
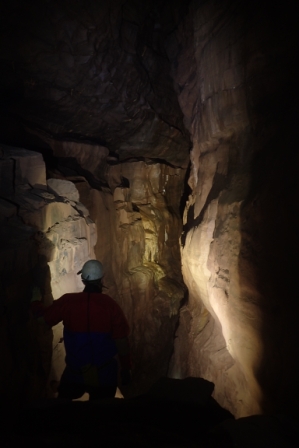
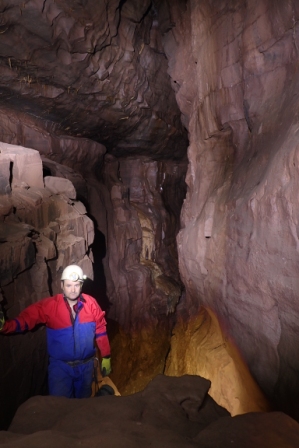
There was a group of students in front of us when we reached the Corkscrew so we waited to allow them to get ahead.
-
- Students in The Corkscrew
-

- Tom Relaxing At The Corkscrew
-
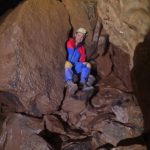
- Nick Emerges From The Corkscrew
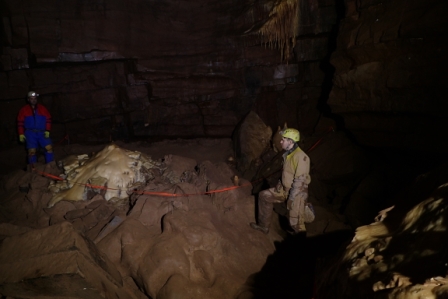
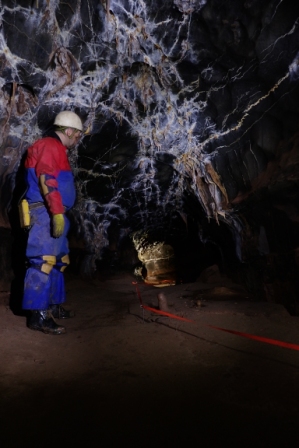
We soon caught up with them though and they asked for directions to the Trident and Judge. We’d borrowed a copy of the old survey and using this we gave them what we thought were the correct directions. Thinking we’d let them get ahead, we decided to go past the junction and have a look around before coming back to for a look ourselves. However, we soon found ourselves at The Trident and realising that the survey may have lied, Tom went back to get them on the right path whilst Nick and I stayed to take some photographs.
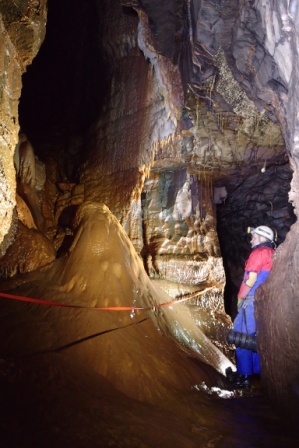
Nick at The Judge
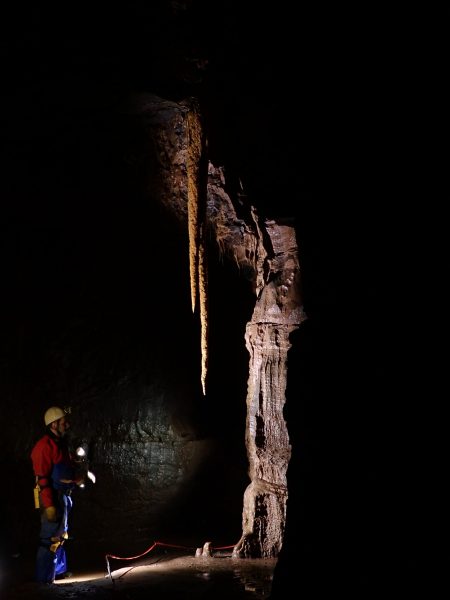
Nick And The Trident
Tom reappeared with the students in tow and they were suitably impressed with the formations although none of them seemed able to ‘see’ the Judge. They soon left back up Salubrious and we headed in the other direction to see Selenite Tunnel.
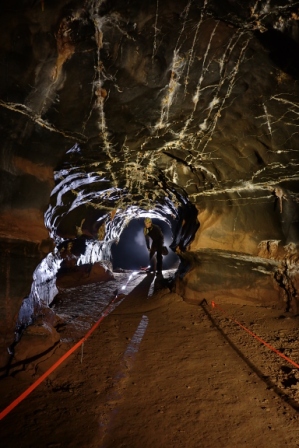
Tom in Selenite Tunnel
Nickin Selenite Tunnel
We now just needed to head back to Gnome Passage via Shatter Pillar and then into Edward’s Shortcut. The climb up at the end of this has always been a slippery awkward climb but since I was there last, it seems to have become a really slippery awkward bastard of a climb. However, we were soon up and then back in Gnome Passage then back out the way we had come into the cold, sleety outside for a chilly walk back down the hill.

Group Selfie
Me
You must be logged in to post a comment.